
How to Build a Concrete Swimming Pool
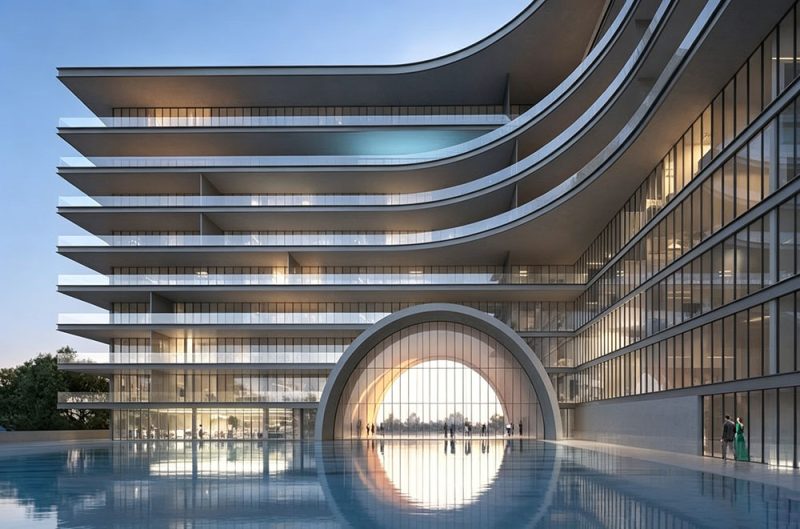
A concrete swimming pool can turn an ordinary backyard into a place for exercise, relaxation, and family time. Unlike prefabricated pool systems, concrete construction allows the pool to be shaped around the site, making it possible to create custom depths, curves, steps, spas, tanning ledges, and other features.
Key Takeaways
- A concrete swimming pool usually starts with careful planning, site preparation, permits, and engineering.
- Excavation creates the basic shape of the pool, while plumbing and reinforcement are installed before the concrete shell is formed.
- Shotcrete or gunite is commonly used to create the pool shell, with the excavation itself often serving as part of the form.
- Proper curing gives the concrete time to develop the required strength before finishing work begins.
- Tiles, coping, interior finishes, electrical systems, filtration equipment, and landscaping complete the pool.
- Good coordination between design, reinforcement, plumbing, formwork, concrete placement, and finishing helps create a durable and attractive pool.
1. Plan the Pool and Prepare the Site
Before any excavation begins, the pool design needs to be established. The size, depth, shape, location, access, drainage, equipment area, and surrounding landscape all need to be considered.
Engineering drawings and soil information may also be required, depending on local regulations and site conditions. Building permits, property setbacks, safety requirements, and utility locations should be checked before construction starts.
Once the plans are ready, the pool layout can be marked directly on the ground. Contractors may use paint, stakes, string lines, or other measuring methods to define the pool footprint and surrounding areas.
Site access is another practical consideration. Excavation equipment, concrete delivery vehicles, pumps, and other machinery need enough room to reach the work area. Existing fences, buildings, underground utilities, trees, and landscaping may affect how the construction team approaches the site.
Taking care of these details early can make the following stages much smoother.
2. Excavate the Pool Area
After the layout has been confirmed, excavation begins. Machinery is used to remove soil and create the basic shape of the future pool.
The excavation needs to follow the planned dimensions and depths closely. The floor, walls, steps, benches, and other changes in elevation are shaped during this stage.
The quality of the excavated surface also matters for concrete placement. In many concrete pool designs, shotcrete is applied directly against the prepared excavation. This means the soil surface effectively becomes part of the forming system. A firm and properly trimmed excavation helps the concrete achieve a more consistent thickness and reduces potential problems caused by soft or irregular areas.
Plumbing trenches can also be prepared around this stage. Soil removed from the excavation needs to be handled properly, while drainage and site safety should remain under control throughout the work.
3. Install Plumbing and Reinforcement
Once excavation is complete, the pool starts to develop its structural framework.
Pool plumbing is installed to connect the main drains, skimmers, return lines, filters, pumps, water features, and other equipment. The pipe layout should be planned according to the pool’s size and circulation requirements so water can move efficiently through the filtration system.
At the same time, steel reinforcement is placed throughout the pool shell. Reinforcing bars are arranged according to the structural design, commonly forming a grid across the floor and walls.
The reinforcement provides tensile strength to the concrete shell and helps it handle the forces created by water pressure, surrounding soil, temperature changes, and other structural conditions.
Electrical conduits for pool lights and other equipment may also be installed before the concrete shell is placed. Plumbing lines should normally be checked and pressure-tested before they become enclosed within the concrete structure.
At this point, accurate positioning is especially important because most of these components will no longer be accessible once the concrete has been installed.
4. Set Up Formwork Where Needed
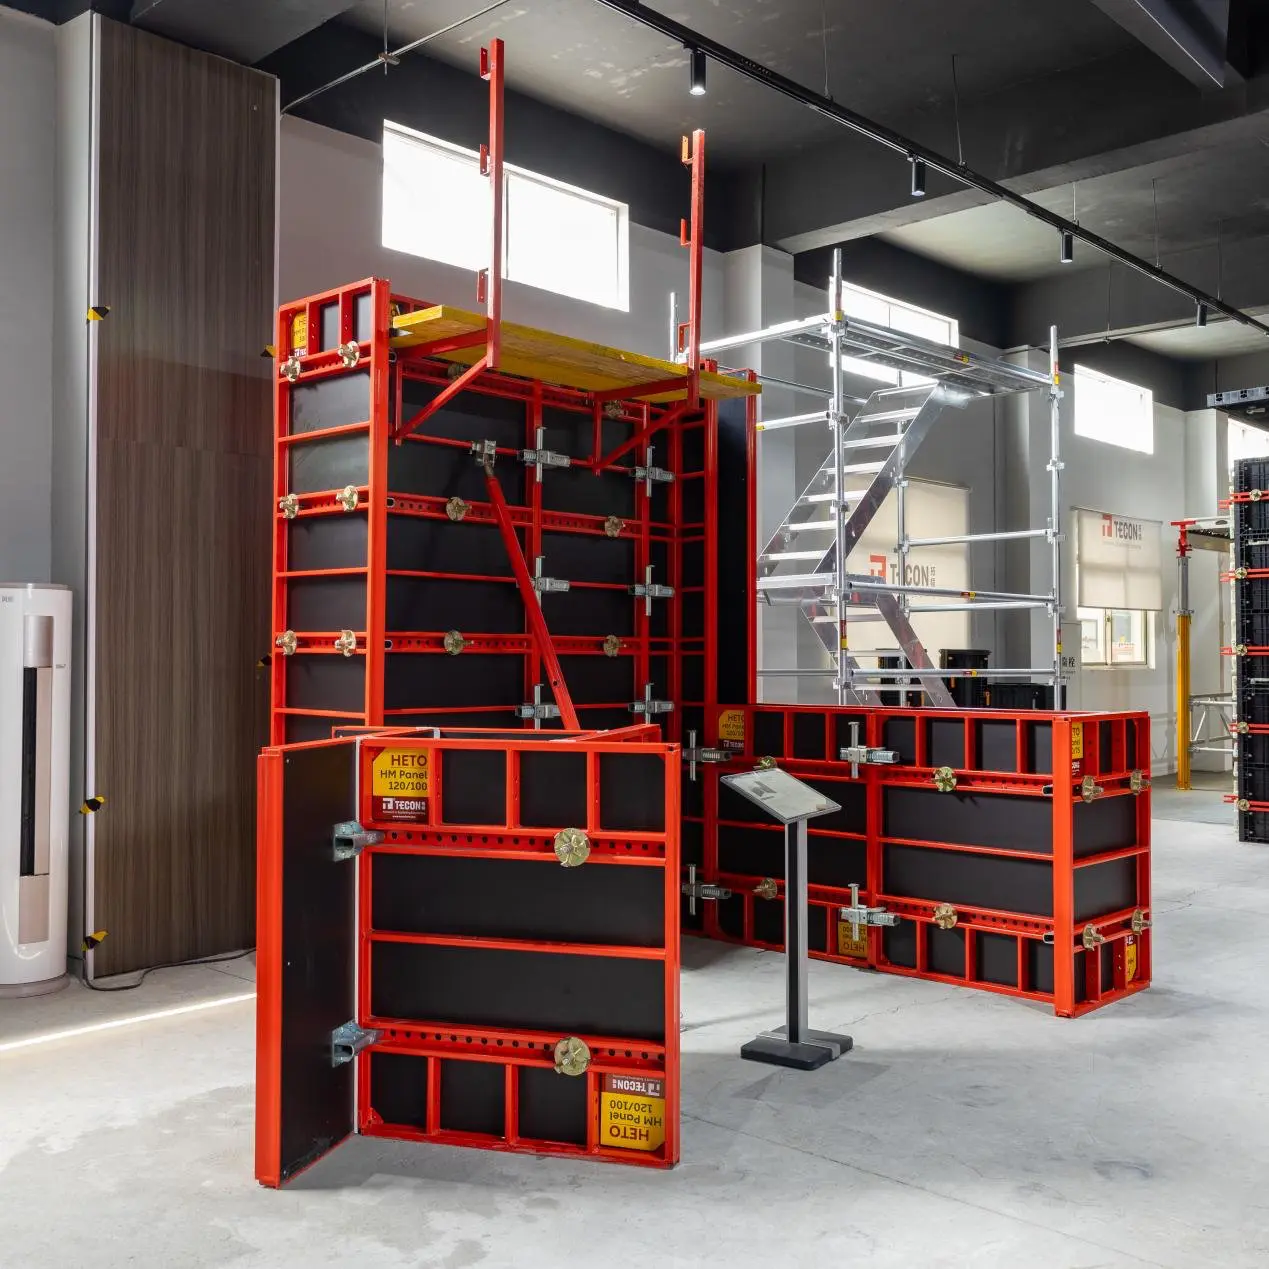
Concrete swimming pools do not always require traditional two-sided formwork. One of the advantages of shotcrete construction is that concrete can often be sprayed directly against the shaped excavation. In this approach, the prepared earth acts as a supporting surface for the pool shell.
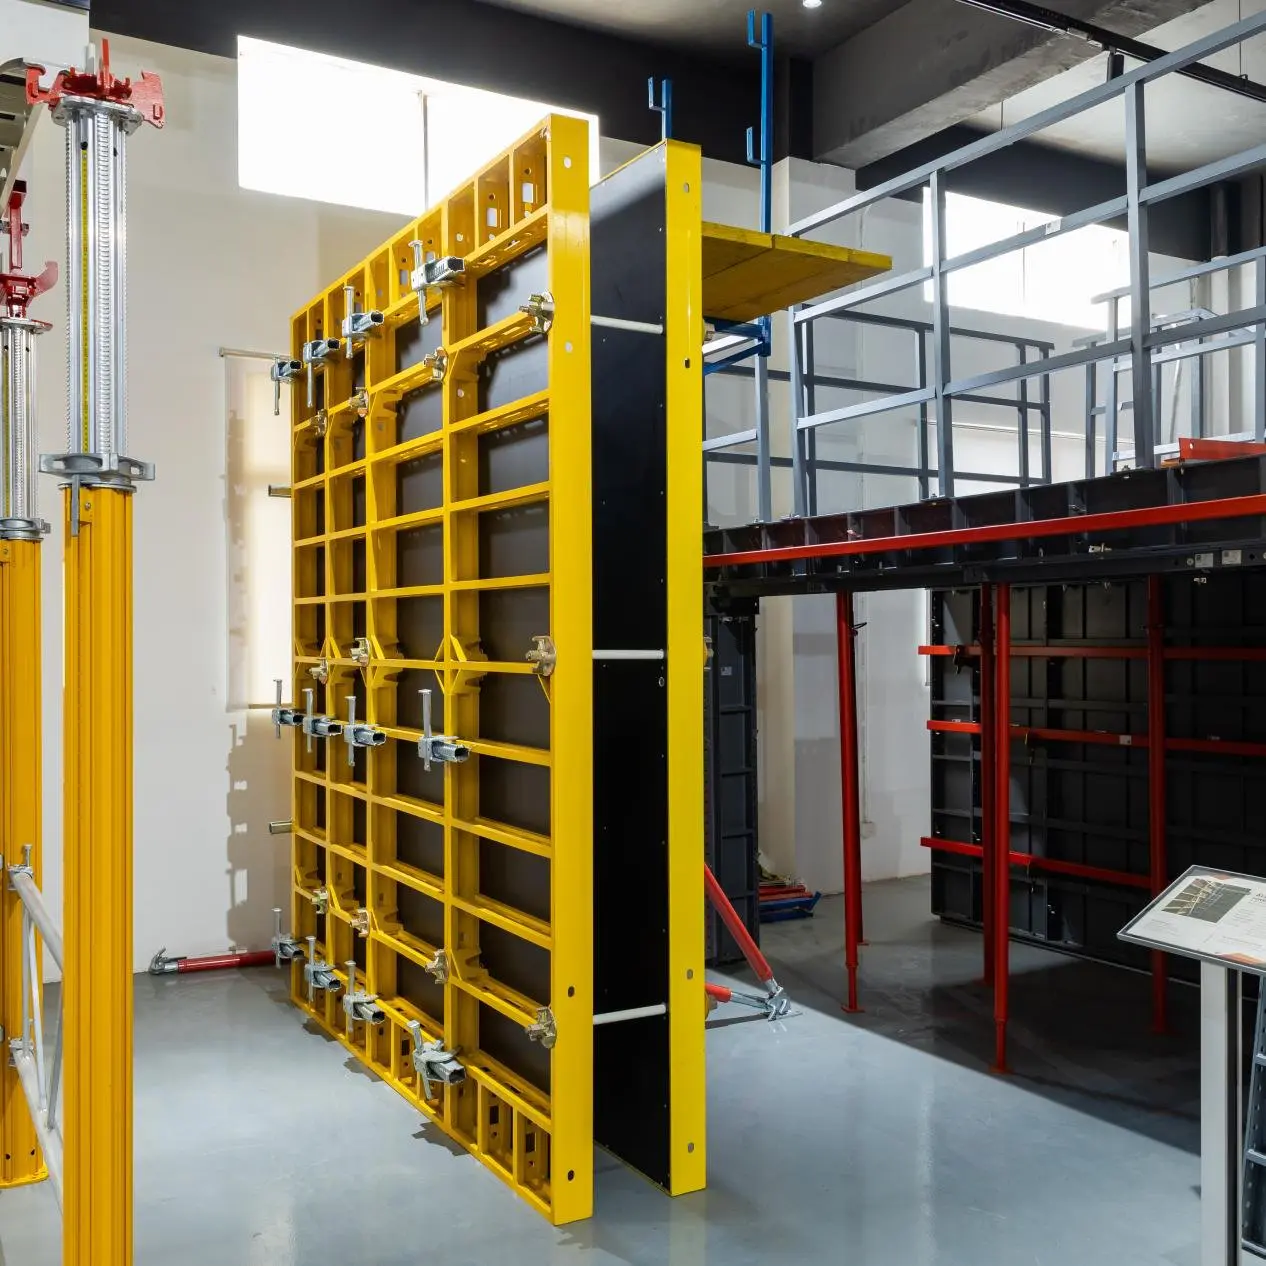
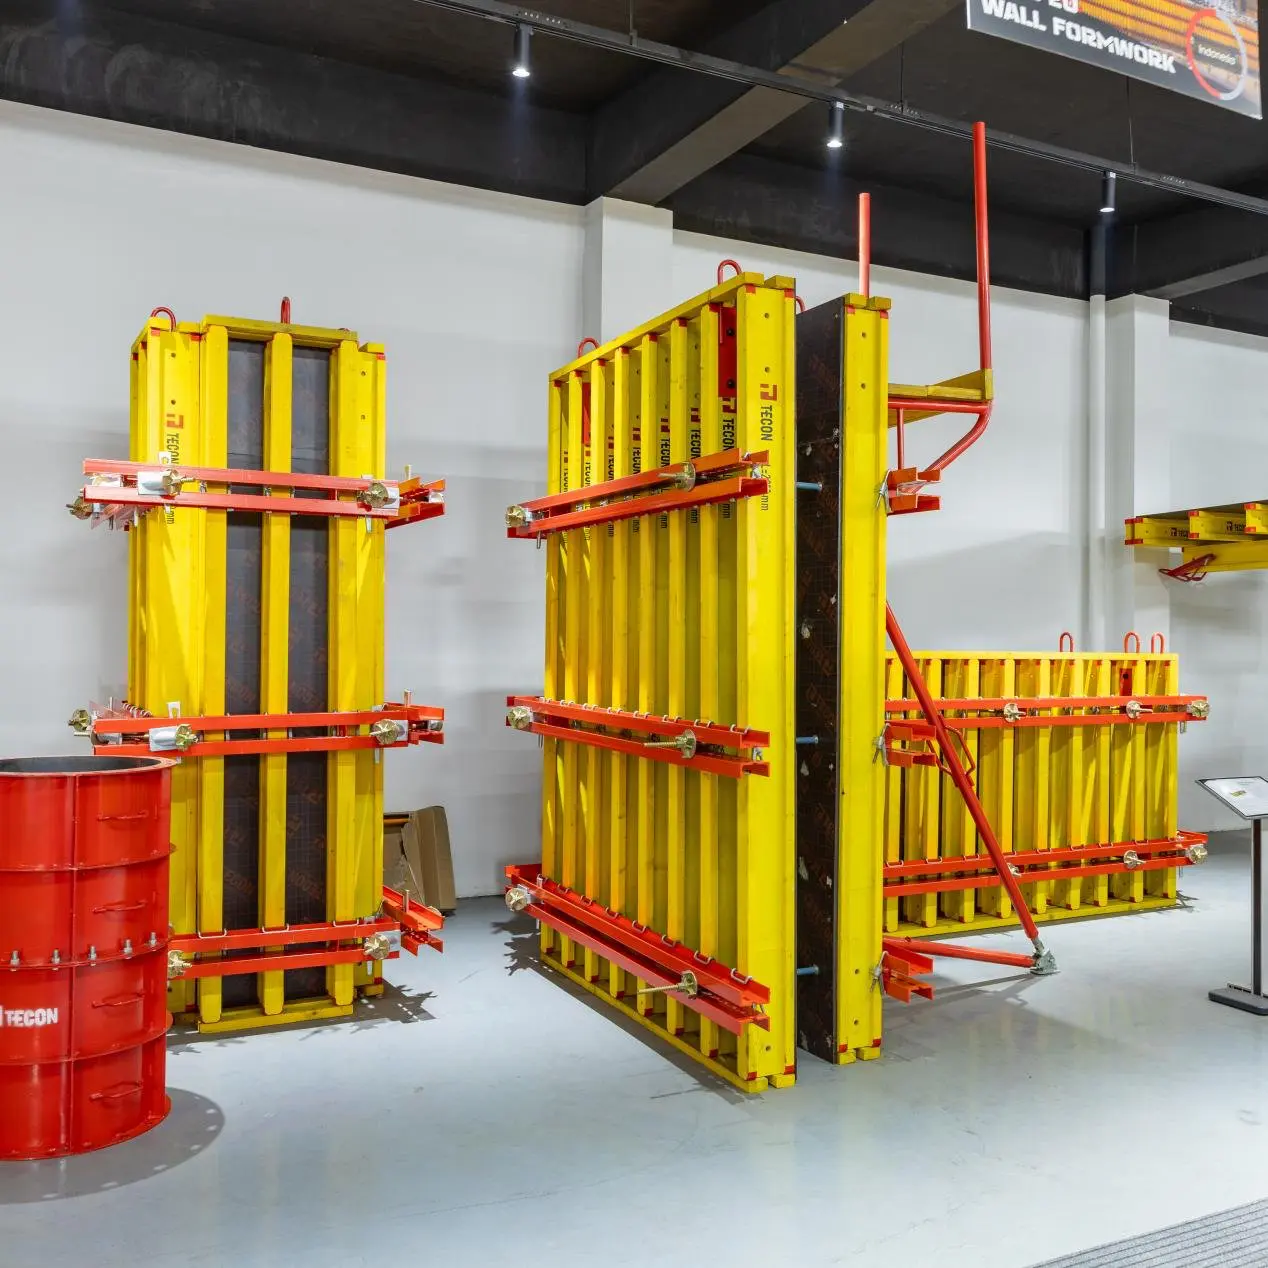
However, formwork can still be useful or necessary in certain parts of a pool project. Raised walls, straight sections, steps, edges, overflow areas, spas, retaining structures, and other special details may require additional forming.
The purpose of formwork is to help establish the required shape, dimensions, alignment, and surface profile before and during concrete placement. Properly supported forms help prevent movement and keep the finished structure within the planned geometry.
For complex pool designs, the combination of excavation, reinforcement, temporary formwork, and shotcrete placement needs to be coordinated carefully.
5. Build the Concrete Pool Shell
With the excavation, plumbing, reinforcement, and necessary formwork ready, the concrete shell can be constructed.
Shotcrete and gunite are common methods used for concrete pool construction. Both involve pneumatically placing cementitious material onto the prepared surface, although the materials are mixed and delivered differently.
The concrete is applied to form the floor and walls of the pool. Skilled nozzle operation is important because the material needs to be placed at the required thickness and compacted properly around reinforcement and other embedded components.
After placement, the surface is shaped and finished to achieve the designed contours. Steps, benches, slopes, curves, and other details can be formed as part of the shell construction.
This stage gives the pool its permanent structural form, so workmanship and attention to the specified design are important.
6. Allow the Concrete to Cure
Concrete does not reach its final performance immediately after placement. The pool shell needs adequate time and appropriate curing conditions before the next major finishing stages begin.
The exact curing period depends on the concrete system, weather, project requirements, and local construction practices. Some pool construction guides use roughly 28 to 30 days as a general curing period before major finishing work.
During curing, moisture management is important. Proper curing allows the concrete to develop strength and can help reduce the risk of premature drying and cracking.
This waiting period can also be used to finalize selections for tiles, coping, interior finishes, fencing, landscaping, lighting, and pool equipment.
7. Install Tiles, Coping, Equipment, and Electrical Systems
Once the concrete shell has cured sufficiently, the pool moves into the finishing stage.
Waterline tiles are commonly installed around the upper section of the pool. Some designs use tiles throughout the interior, while others combine tile with plaster, pebble, or other pool finishes.
Coping is installed around the pool perimeter and provides a finished transition between the pool structure and the surrounding deck. Depending on the design, coping may be made from natural stone, precast materials, brick, concrete, or other suitable products.
This is also when equipment and electrical systems are connected and commissioned. Typical equipment may include:
Pumps
Filtration systems
Pool heaters
Pool lights
Automation controls
Cleaning systems
Water features
Electrical work should be completed according to applicable local requirements and handled by appropriately qualified professionals.
8. Apply the Interior Finish and Fill the Pool
The interior finish gives the pool its final appearance and also provides the surface that will remain in contact with the water.
Common options include traditional plaster, pebble-based finishes, glass aggregate finishes, and full interior tiling. The right choice depends on appearance, budget, maintenance preferences, and the overall pool design.
After the interior has been completed and the required inspections have been passed, the pool can be filled.
The equipment is then started, circulation is checked, and the water chemistry is balanced. Pumps, filters, heaters, lights, and other systems should all be tested to make sure they are operating as intended.
The final stage may also include pool fencing, decking, landscaping, outdoor lighting, patios, and other features that complete the surrounding space.
How Long Does It Take to Build a Concrete Swimming Pool?
There is no single construction timeline for every concrete pool. A simple project on an accessible site may move faster than a large custom pool with complicated landscaping, retaining walls, water features, or difficult ground conditions.
Permitting, weather, site access, pool size, design complexity, material availability, and finishing requirements can all affect the schedule. Some industry guides estimate several months for a complete custom concrete pool project, while individual construction phases may take anywhere from several days to several weeks.
It is usually better to plan the project around the full construction sequence rather than focusing only on the concrete placement date.
Conclusion
Building a concrete swimming pool is a multi-stage process that combines design, excavation, plumbing, reinforcement, formwork, concrete placement, curing, finishing, and equipment installation. While the exact sequence can vary from one project to another, good preparation at every stage helps the work move from a simple site layout to a finished pool that is ready to enjoy.
With reliable pool formwork solutions, we help you build with confidence and keep every project moving smoothly.
FAQ
The first step is planning. This usually includes deciding the pool’s location, size, shape, depth, features, equipment requirements, and construction details. Permits, engineering information, soil conditions, and underground utilities should also be considered before excavation.
Not always. With shotcrete construction, the properly prepared excavation can serve as the forming surface for much of the pool shell. Additional formwork may still be required for raised walls, straight sections, edges, steps, spas, and other structural or architectural features.
Yes. Reinforcing steel is commonly incorporated into concrete pool shells to provide structural strength and help the shell withstand the forces acting on it. The reinforcement layout should follow the project’s structural design.
The curing period varies by project and construction method. Around 28 to 30 days is often referenced as a general period for the concrete shell to develop strength before major finishing work, but the actual requirements should follow the project specifications and applicable standards.
Yes. Custom shapes are one of the main reasons people choose concrete pools. Curves, irregular layouts, different depths, integrated spas, tanning ledges, infinity edges, and water features can all be incorporated into the design.
Common choices include plaster, pebble-based finishes, glass aggregate finishes, and ceramic or glass tile. The best option depends on the desired appearance, maintenance requirements, budget, and project design.